Final Project Ideas
The main component of the students' family history projects is an oral history interview. Ideally the interview should be completed with a family member, but if this is not possible it can be completed with a community member or neighbour - or anyone else the teacher finds is appropriate.
Students should select their interview subject and then conduct the interview in person, if possible, or over the telephone. They may want to tape record the interview, or simply take notes. The information gathered in the interview(s), plus photos, objects, and memorabilia collected as well as additional research should go towards writing a short piece about their family history.
Here is a list of suggested ways to display the final projects:
1. Bristol board display
Each student will write/type and illustrate the story of his
or her family story on white paper. The paper will then be
glued to the Bristol board in a creative but legible display.
Students should also create a title for their project, and
write brief captions for photos and other items collected
for the display. The boards may be decorated using photographs,
images, coloured paper, markers, etc. Objects may also be
displayed in front of the Bristol board. See below for
suggestions on displaying treasured objects.
Materials
- 22" X 28" Bristol board
- construction paper or other coloured paper
- photo corners (for mounting photographs without damage)
- markers or colouring pencils
- glue stick
- Scissors

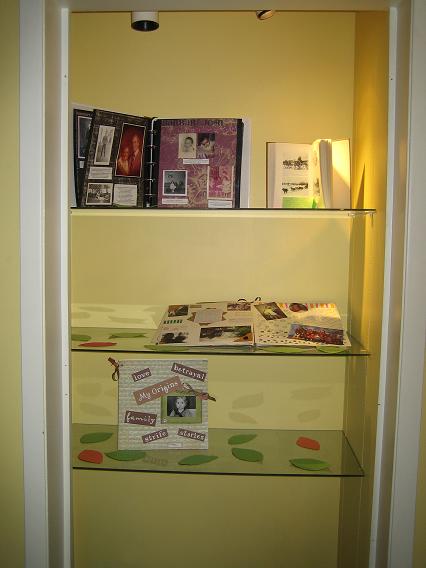
2. Scrapbook
The scrapbook may be devoted to the student's entire family,
or the life of a specific individual (e.g. a parent, grandparent).
Students should be encouraged to find creative ways to illustrate
their scrapbook, and also write labels or short captions to go
along with the photographs. They may also have objects to
accompany the scrapbook.
Materials
- scrap booking supplies (pages, stickers, photo corners, stamps, stencils, frames, etc.)
- scrapbooking or construction paper
- pencils/ pencil crayons/ crayons/ markers/
- glue stick
- scissors
- a cookbook holder (to support and display the scrapbook)

3. Treasure Box
The idea is for students to collect photographs or objects from
the home that they consider "treasures" and that illustrate the
family history they have researched. Objects and photos should
be carefully arranged and displayed within the open box, so that
others can see everything without having to touch the display.
Students should also write accompanying labels or captions to
explain the photographs and objects selected. The written family
story could be positioned outside the box for others to read, or
it could be presented on a scroll or on large, decorated index cards.
Materials
- shoebox (or other good-sized box)
- white paper
- construction paper
- pencils/ pencil crayons/ crayons/ markers/
- glue stick
- scissors
For displaying objects teachers may want to:
1) buy a box of white cotton gloves for children to wear
2) borrow beanbags from school gym to prop up objects
3) make raised sections for smaller treasures by covering
Styrofoam blocks, tupperware or shoeboxes with construction paper,
pieces of cotton sheeting, or left-over wallpaper.

Final Presentations
In order to share your student's work with others, why not display
the projects in a public space at school or schedule a "History Fair"
after school so that the students' families and other classes and
teachers may come to view them?


